
There’s something quietly satisfying about growing your own tea. It’s not just the sipping (though that’s lovely!) but the whole process, from planting and tending to harvesting and brewing. The good news is that you don’t need a sprawling garden or specialist kit to do it. With the right plants and a bit of know-how, you can go from garden bed (or windowsill pot) to teacup with ease. Here’s how to get started with the best herbs for homegrown tea and what to know along the way.
1. Start with herbs that thrive where you live.
Before anything else, consider your climate. Plants like mint, lemon balm, and chamomile grow well across most of the UK, while others, such as lemon verbena or rooibos, need more warmth or shelter. Choosing herbs that naturally do well in your area means less fuss, fewer dead plants, and better yields for your teacup.
If you’re not sure where to begin, start small with a hardy herb like mint. It’s ridiculously easy to grow (sometimes too easy), and you’ll get enough leaves for fresh tea all season long. Just keep it in a pot unless you want it taking over the garden.
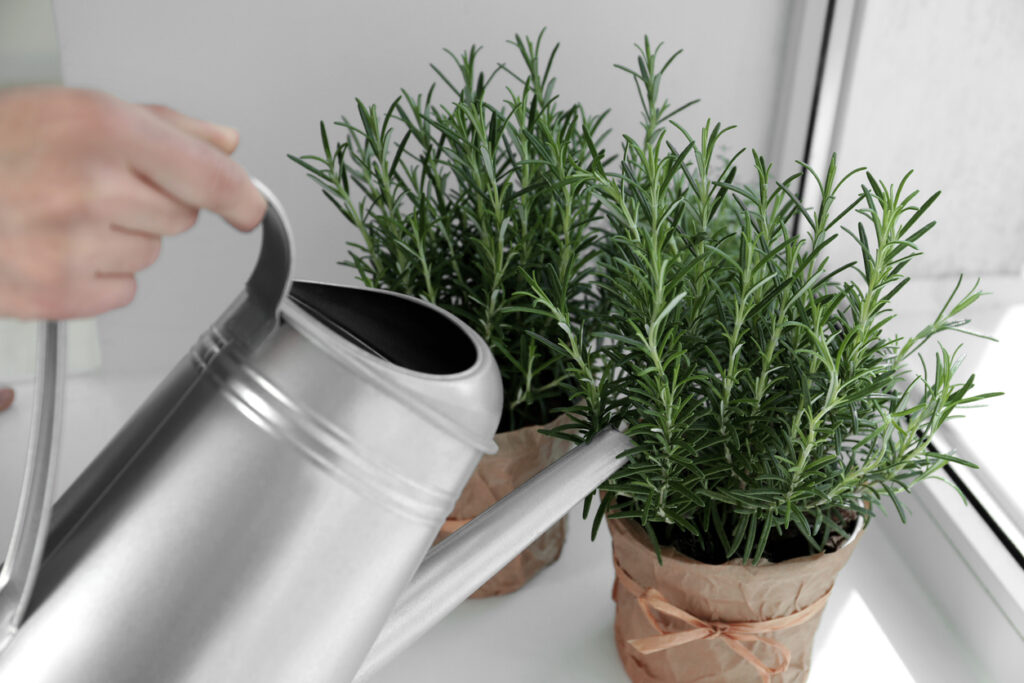
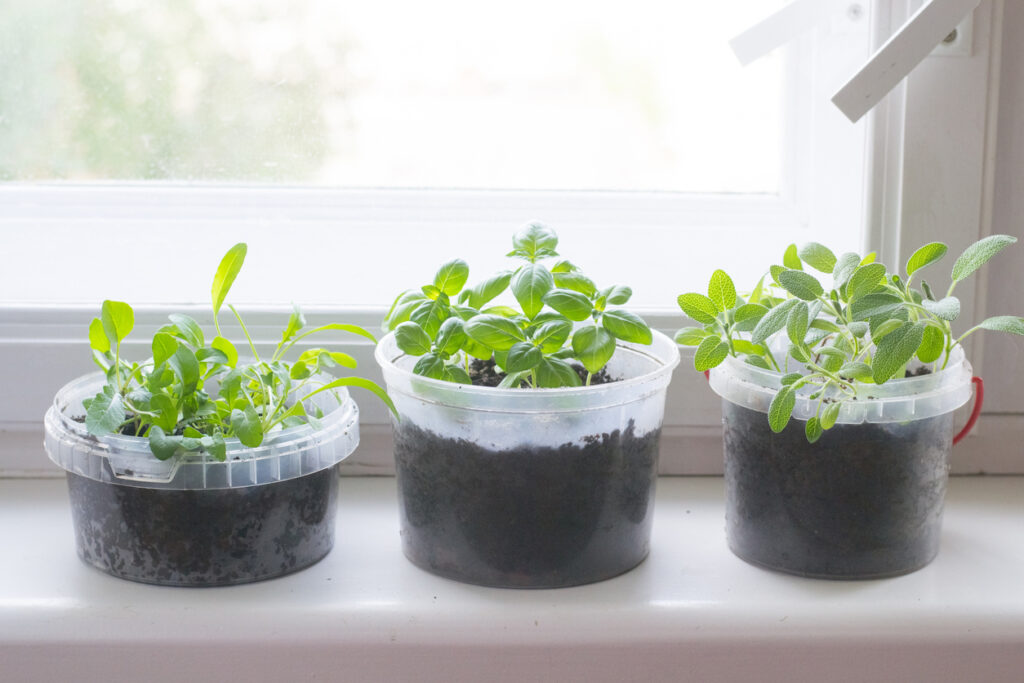
2. Grow in containers if space is limited.
You don’t need raised beds or a full allotment to grow tea-worthy herbs. Most of them do perfectly fine in pots or window boxes. This is ideal if you’re tight on space, or if you want to keep different herbs separate to stop the flavours from muddling or one plant crowding out the rest.
Containers also let you move things around for better sun or shelter. Just make sure the pots drain well, and don’t forget to water during dry spells. A little compost mixed in with the soil will go a long way in keeping the plants happy.
3. Pick herbs that match your tea taste.
Some people love a fresh, zingy cup, while others want something earthy, floral, or calming. The great thing about growing your own is you can tailor it to your taste. Chamomile and lemon balm are soothing. Peppermint and lemon verbena give you that clean, bright flavour. Rosemary and thyme bring depth and a savoury twist.
You can grow a small mix and experiment with blends. A little of this, a sprig of that. Over time, you’ll figure out what combinations hit the spot, and you’ll have the freshest ingredients to play with whenever the mood strikes.
4. Know when and how to harvest.
For most herbs, the best time to pick is right before they flower, when the leaves are packed with oils and flavour. Use scissors or pinch off leaves and sprigs in the morning once any dew has dried. Try not to harvest more than a third of the plant at a time, so it keeps growing back strong.
It’s tempting to grab loads at once, but smaller, regular harvests give you fresher tea and keep your plants healthier. And don’t forget: herbs like mint or lemon balm bounce back quickly, so you’ll have plenty of chances for fresh brews all season.
5. Drying helps you store it longer.
Fresh tea is great, but drying herbs means you can enjoy them long after the growing season’s done. Hang small bunches upside down in a dry, well-ventilated spot, or lay leaves out on a mesh tray or paper towel away from direct sun. Once they’re fully dry, store them in a sealed jar somewhere cool and dark.
Well-dried herbs can last for months, keeping their flavour and fragrance if stored right. It’s satisfying opening a jar in December and catching a whiff of summer. Bonus: you’ll look impressively organised to anyone who sees your little stash.
6. Use clean, unsprayed leaves only.
This might sound obvious, but don’t brew anything you’ve sprayed with pesticides or mystery garden chemicals. If you’re buying new plants from a garden centre, ask if they’ve been treated. Better yet, grow from seed or cuttings so you know exactly what’s gone into them.
Even with organic plants, rinse leaves gently before brewing, especially if you’ve got pets, pollution nearby, or an overenthusiastic pigeon population. A quick rinse is all it takes to make sure you’re sipping something safe and clean.
7. Experiment with blending flavours.
One of the joys of growing your own tea is you can mix and match flavours in ways you’d never find on a shop shelf. A bit of rosemary with lemon balm. Lavender with mint. Sage with chamomile. You’ll learn quickly what works and what’s better left in the soil. You can also steep other ingredients you have on hand, such as ginger slices, citrus peel, or a bit of honey, alongside your herbs. It’s not about getting it perfect. It’s about finding little combos that feel like yours.
8. Steep fresh or dried herbs the right way.
Fresh herbs generally need more steeping time than dried, but they also offer a softer, greener flavour. Use a generous handful of fresh herbs or about a teaspoon of dried per cup. Cover the tea while it steeps so the oils don’t evaporate, and aim for 5–10 minutes depending on strength.
If you’re using a teapot or infuser, make sure the herbs have room to expand. Crushed or packed leaves won’t release as much flavour. Don’t feel pressured to get fancy; sometimes a mug, a tea strainer, and a kettle are all you need.
9. Don’t forget the calming ritual.

Making tea from your garden isn’t just about the drink; it’s about the pause. The act of picking, steeping, sipping. It’s a slow moment in a fast day, and there’s something grounding in that. Even if the garden’s a mess or the herbs are a bit scraggly, it still feels good to create something for yourself. So lean into the ritual. Whether it’s a cuppa at 4pm or a wind-down mug before bed, it’s not just about what you’re drinking. It’s the fact that you made it, start to finish.
10. Keep notes so you can tweak next time.
If you get into growing your own tea, it’s worth jotting down what worked and what didn’t. Which herbs thrived, which blends you liked, how long things took to dry, and what you’d change. These notes become your go-to guide for next season. It’s part of the fun, figuring out your own rhythm and preferences. You don’t have to be an expert to enjoy it. You just have to start. And your future self, sipping something warm and homegrown, will thank you for it.