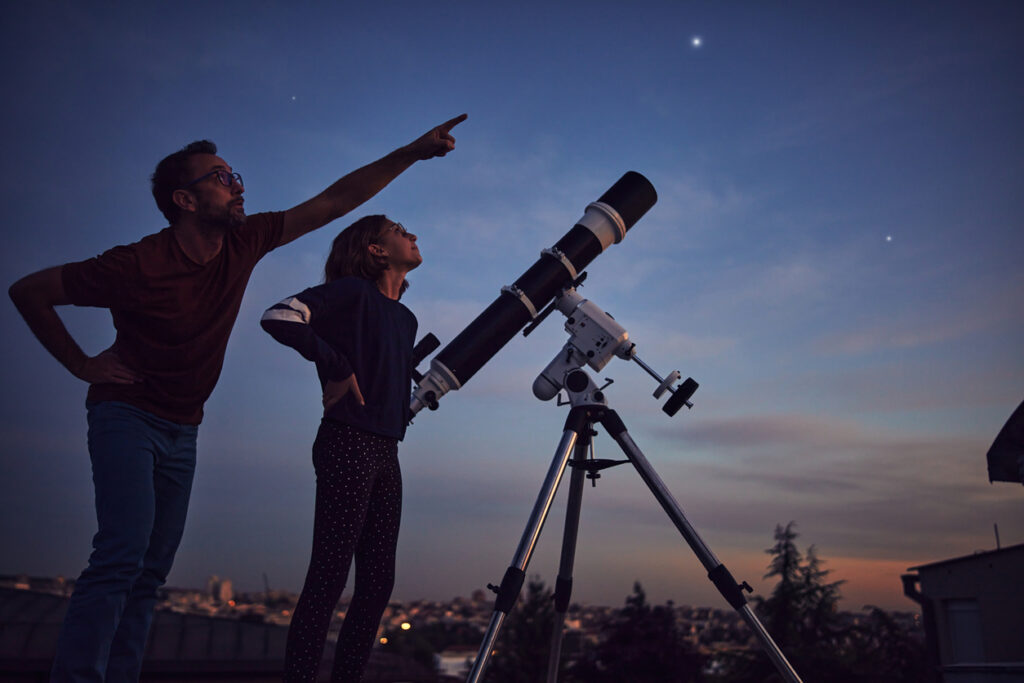
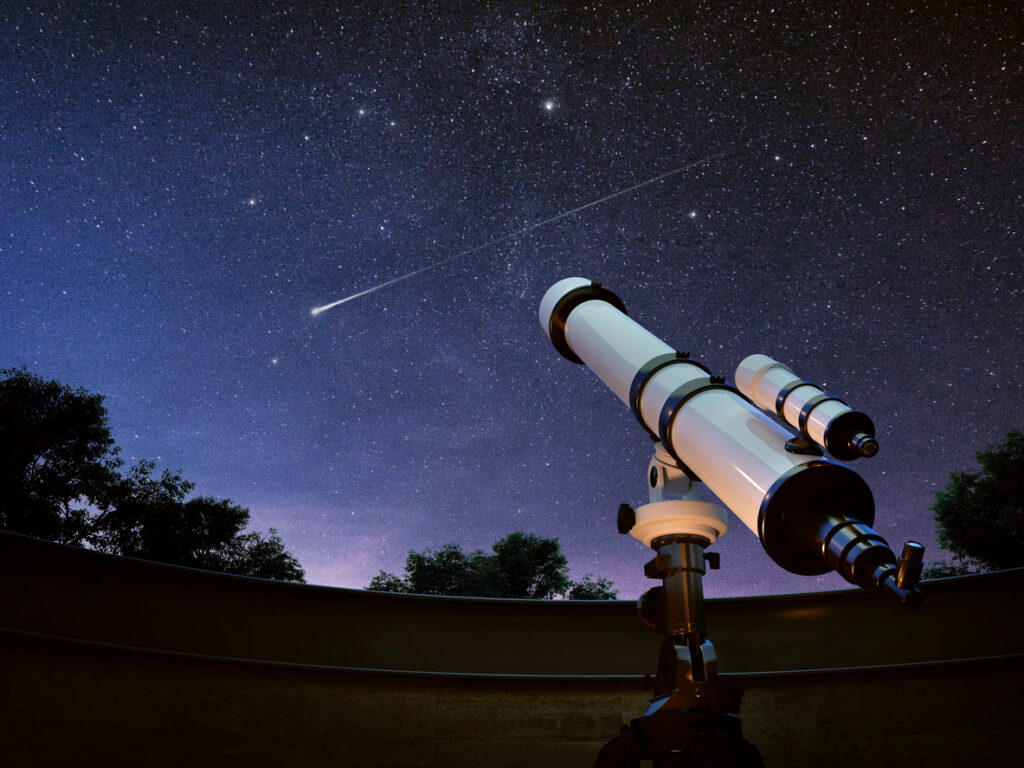
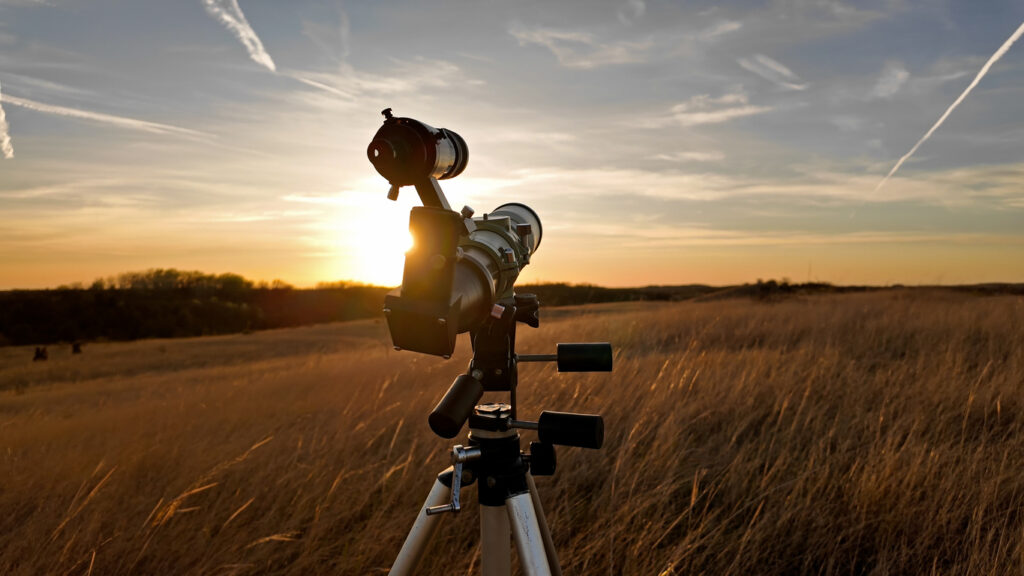
Buying a telescope is exciting, but the technical terms can feel like another language.
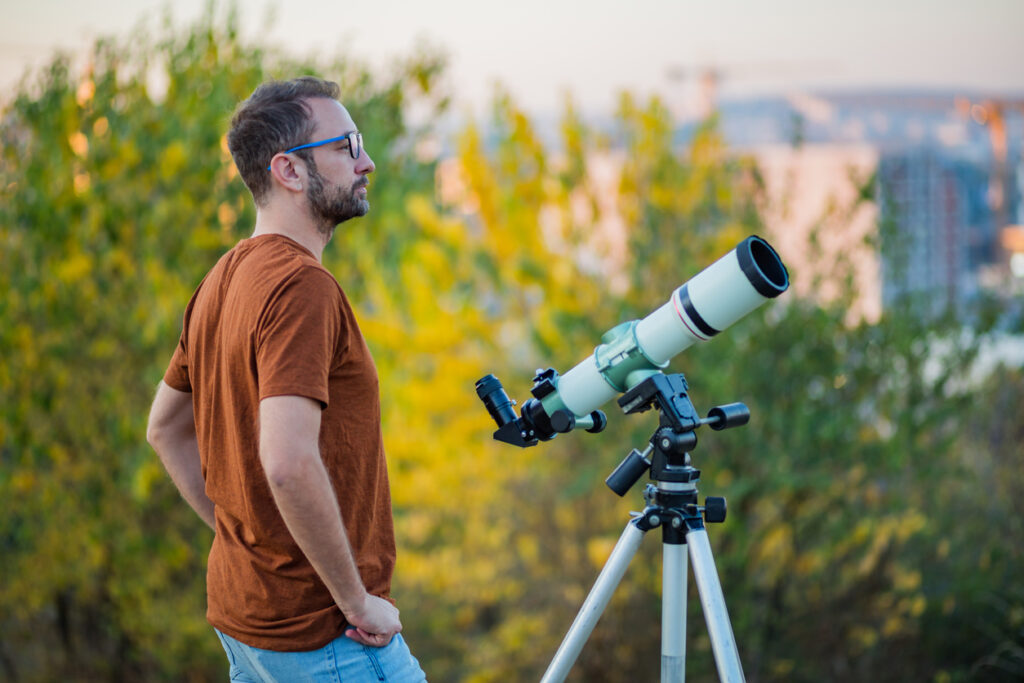
Aperture, mounts, coatings and collimation all sound important, but what do they actually mean? Here’s a plain-English breakdown on the key features that matter most for stargazers of all experience levels. They’ll make looking out into the cosmos an awe-inspiring experience every time.
1. A decent aperture size

The aperture is simply the size of the telescope’s main lens or mirror. It’s the part that gathers light. The bigger it is, the more light gets in, which means you can see fainter stars and sharper details.
For beginners, a telescope with at least a 70–80 mm aperture is a solid choice. It lets you see the Moon, planets, and some brighter deep-sky objects clearly without being too heavy or expensive to handle.
2. Quality optical glass
The glass inside the telescope bends light to form an image. Cheap glass or poor coatings scatter light and create fuzzy or washed-out views. That’s why two telescopes of the same size can give very different pictures.
Look for terms like “coated” or “multi-coated” optics. This means the glass surfaces have special layers that cut down glare and improve contrast, so what you see through the eyepiece looks sharper and brighter.
3. A stable mount
The mount is the frame that holds your telescope and allows you to move it. Without a solid mount, even the best optics will wobble and shake every time you touch it, making it impossible to keep a planet in view.
Choose either an alt-azimuth mount, which moves up and down and side to side like a camera tripod, or an equatorial mount, which is designed to track objects across the sky. Both work fine, but sturdiness is key.
4. Smooth focuser controls
The focuser is the little knob you turn to bring an object into sharp view. On poor telescopes, this knob is stiff or loose, so you keep overshooting the focus point and end up with a blurry image.
A good focuser lets you make tiny adjustments easily. Rack-and-pinion or Crayford-style focusers are smooth and precise, making it far easier to lock in on the craters of the Moon or the rings of Saturn.
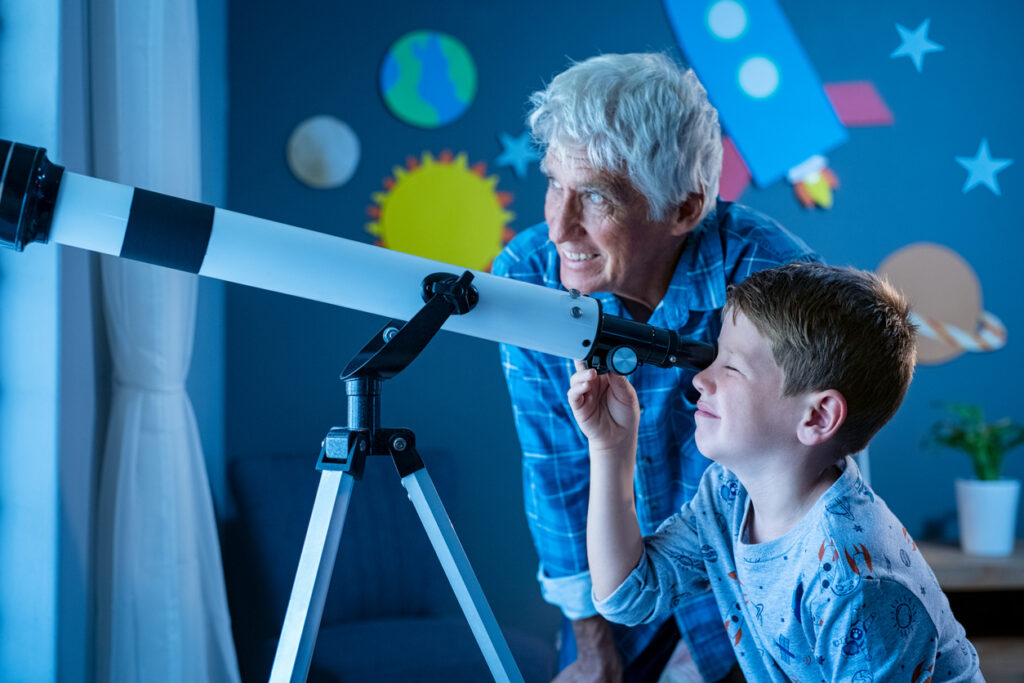
5. Interchangeable eyepieces

Eyepieces are the small lenses you look through. Each one gives a different magnification. If a telescope only comes with a fixed eyepiece, you’re stuck with one view, which isn’t enough for different targets in the night sky.
Make sure your telescope takes standard 1.25-inch eyepieces. That away, you can swap between low magnification for star fields and higher magnification for planets, giving you flexibility as your interest grows.
6. A sensible magnification range
Magnification is how big the object looks. Many cheap telescopes boast “600x power” or more, but that just stretches a dim, blurry image. Real clarity depends on aperture, not inflated magnification numbers.
A good rule is around 50 times the aperture size in inches. For example, a 3-inch telescope is best at about 150x magnification. This keeps images crisp and avoids disappointment when the Moon looks like a fuzzy blob.
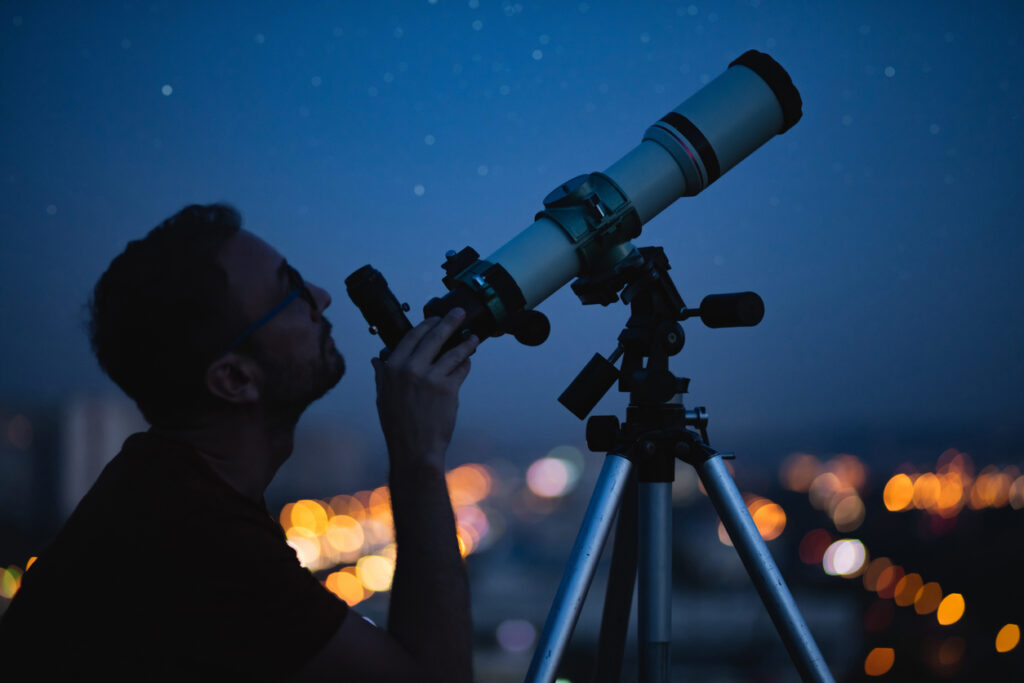
7. A sturdy tripod
The tripod is what the mount sits on. If it’s flimsy, the whole setup shakes in the slightest breeze, and your view constantly drifts. A wobbly tripod is one of the quickest ways to spoil stargazing.
Pick a telescope with a tripod made from strong aluminium or steel. Thick legs absorb vibrations and keep everything steady, which makes your viewing calmer and your adjustments much easier.
8. A reliable finder scope
The finder scope is the small telescope or red-dot sight attached to the main tube. Its job is to help you aim at your target, since the main telescope shows such a narrow patch of sky that finding things without it is very hard.
Choose a red-dot finder or a small optical finder with crosshairs. These make it simple to line up the Moon or bright planets, saving you from endless trial and error when you first set up.
9. A wide field of view
The field of view is simply how much sky you see through the eyepiece. A narrow field means objects drift out quickly as the Earth turns, and you constantly have to re-adjust the telescope.
Wider eyepieces give you more sky in one go. They’re great for star clusters and galaxies, and they also make it easier to track moving objects, so you can enjoy the view without chasing it constantly.
10. Proper collimation ability
Collimation is the alignment of the telescope’s mirrors. If they’re slightly off, the image blurs, no matter what you do. Some cheap reflectors don’t let you adjust this, which means they’re stuck being fuzzy forever.
Check that your telescope has simple collimation screws. This lets you realign the optics when needed, which only takes a few minutes and keeps your views sharp for years to come.
11. Compatibility with accessories

Telescopes aren’t just about what’s in the box. Over time, you’ll want to add new eyepieces, filters, or even a smartphone adaptor for photos. Some budget scopes don’t fit standard accessories, which limits your options later.
Go for a telescope that uses standard fittings like 1.25-inch or 2-inch sizes. That way, you can build your kit gradually and upgrade without needing a whole new telescope each time.
12. Clear, honest specifications
The last essential isn’t a part, it’s the way the telescope is sold. Many low-end models advertise massive magnifications or “see the galaxies” promises, which aren’t realistic. This misleads beginners and leaves them discouraged quickly.
Trust brands that focus on aperture size, glass quality, and stability in their specifications. These honest details matter more than flashy claims, and make sure you buy a telescope that actually performs as expected.