If you want a crop that’s simple, rewarding, and makes your cooking taste better, garlic should be at the top of your list. Planting it in autumn gives it time to settle in before the cold sets, so you’ll be pulling up flavour-packed bulbs next summer.
Garlic loves the cold.
Unlike lots of crops that struggle in winter, garlic actually benefits from the cold. The chill encourages the cloves to split properly into a full bulb, so autumn planting sets you up for success. Skipping the cold often means smaller, weaker cloves.
By getting it in the ground now, you’re letting nature do half the work. The bulbs rest over winter, then burst into growth as soon as spring hits.
It’s important to choose the right type, though!
There are two main kinds of garlic: hardneck and softneck. Hardneck types cope well in colder areas and give you those bonus garlic scapes in spring. Softneck varieties last longer in storage and often produce bigger bulbs.
Think about what you’ll use more, then pick accordingly. Many gardeners grow both because variety means more choice later on.
Go for quality bulbs.
It’s tempting to stick supermarket garlic in the soil, but it’s not the best option. Those bulbs are often treated to stop them sprouting, and they might not be suited to your climate. Planting them can leave you disappointed when growth stalls.
Buying seed garlic from a garden centre or online supplier gives you a better start. It’s bred for planting, so the cloves are healthier and more reliable.
Pick a sunny spot.
I know “sunny spot” is a bit nebulous in the UK, especially at this time of year, but try your best. Garlic thrives on sunlight, so choosing a bright patch makes a big difference. A bed that gets at least six hours of sun a day is ideal. Without enough light, the bulbs won’t fill out properly and can stay small.
Even if you’re short on space, a sunny container on a balcony works. Garlic doesn’t need huge beds to deliver a strong harvest.
Make sure you prep the soil well.
Garlic prefers free-draining soil, so heavy clay can be a problem. It’s worth mixing in compost or sand to loosen things up. A raised bed or large pot also works well if your soil tends to hold water. Starting with healthy soil means fewer problems later. Garlic is hardy, but it still appreciates a good foundation.
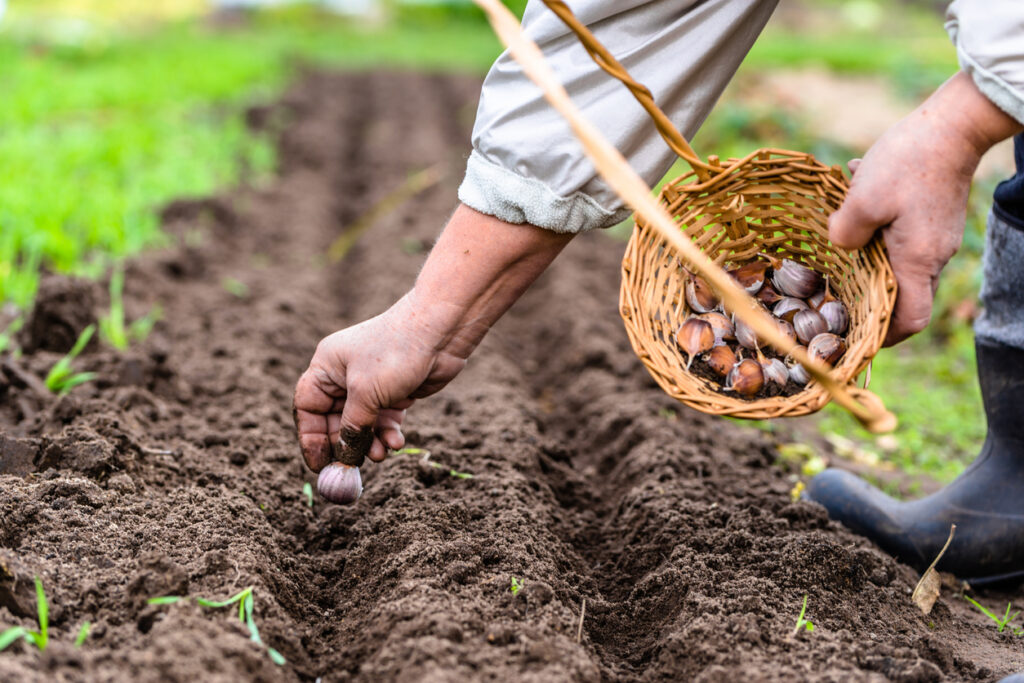
Plant cloves the right way up.
It sounds simple, but planting garlic the wrong way round is a common mistake. The pointy end should face upwards, with the flat base sitting in the soil. Put each clove about 5 cm deep and 10 cm apart for best results. Spacing them out properly avoids crowding and gives each bulb room to swell. It’s a small detail, but it makes a big difference.
Keep weeds under control.
Garlic doesn’t compete well with weeds, so letting them take over stunts growth. Weeds steal nutrients, water, and sunlight, which slows down the bulbs. Left unchecked, they can overwhelm a bed completely. Spending a few minutes every couple of weeks pulling them out keeps things tidy. Mulching with straw or leaves also helps suppress them naturally.
Water sparingly in winter.
Garlic doesn’t need much water during the colder months because the soil stays damp naturally. Overwatering at this stage often leads to rot. Let rain do most of the work for you while the cloves are dormant. As spring arrives and growth takes off, you can increase watering. Keeping soil lightly moist helps bulbs swell properly without drowning them.
Watch for scapes in spring.
If you’re growing hardneck garlic, you’ll notice curly flower stalks called scapes. They look unusual, but they’re edible and packed with garlic flavour. Cutting them off also helps the plant focus energy on the bulb. Scapes are a bonus crop that’s great in stir-fries, pesto, or even grilled. They’re one of the perks of planting garlic early.
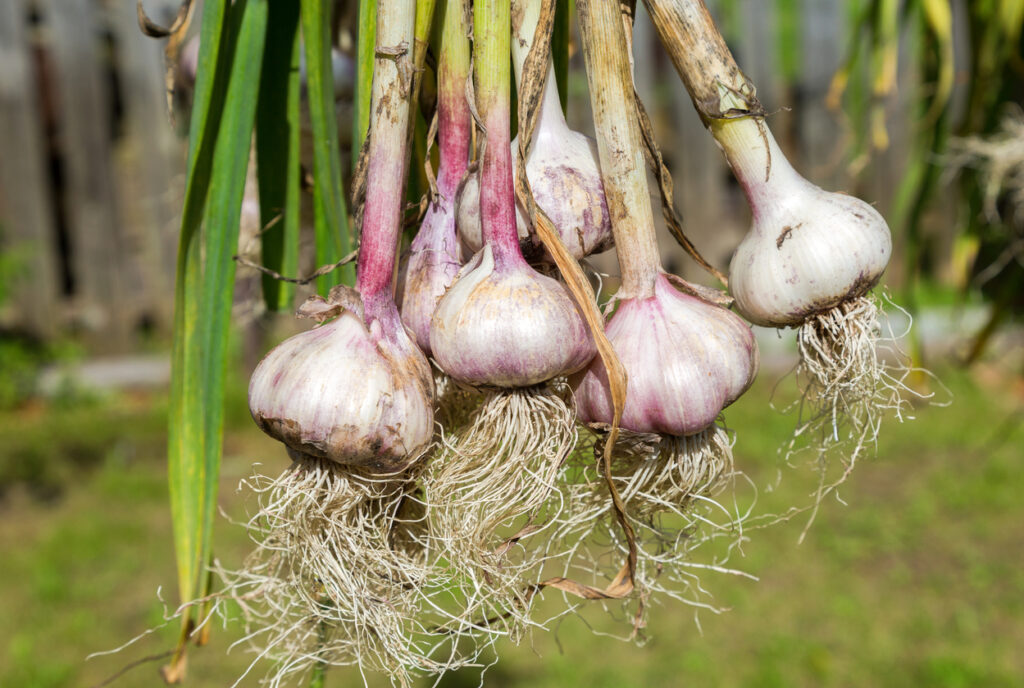
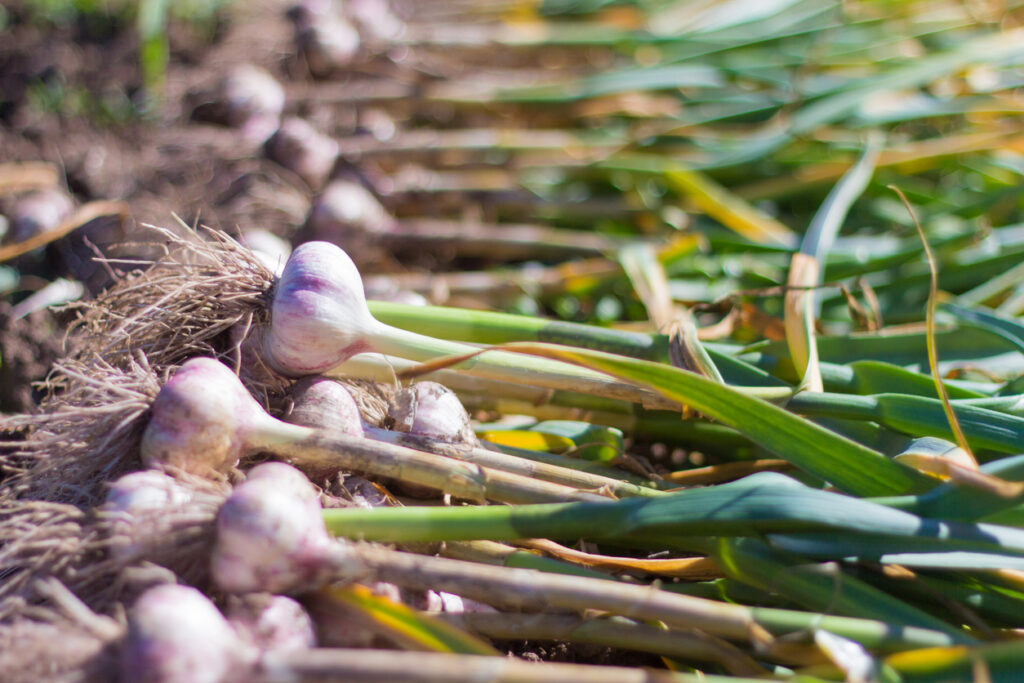
Be patient with harvest time.
Garlic takes around eight to nine months from planting to harvesting, so it’s a waiting game. You’ll know it’s ready when the lower leaves start to yellow and dry, usually in mid to late summer. Pulling it too soon leaves you with smaller bulbs.
Once lifted, let the bulbs dry in a warm, airy spot for a couple of weeks. Proper curing gives them that rich flavour and keeps them fresh for months.