Pumpkin carving might look simple, but anyone who’s ever ended up with a lopsided grin or a collapsing lantern knows it’s trickier than it seems.

Most people grab a knife, scoop and hack away, then wonder why their masterpiece doesn’t quite survive the night. The truth is, there’s a bit of art and science behind a pumpkin that lasts, from picking the right one in the first place to knowing how to keep it fresh once it’s carved.
Whether you’re going for something spooky, funny, or impressively detailed, a few small tricks can make a big difference. With the right prep, tools, and aftercare, your pumpkin won’t just look better, but it’ll also stay brighter and firmer for longer too. If you’re a Halloween enthusiast, you need to know these tips.
Pick the right pumpkin to start with.
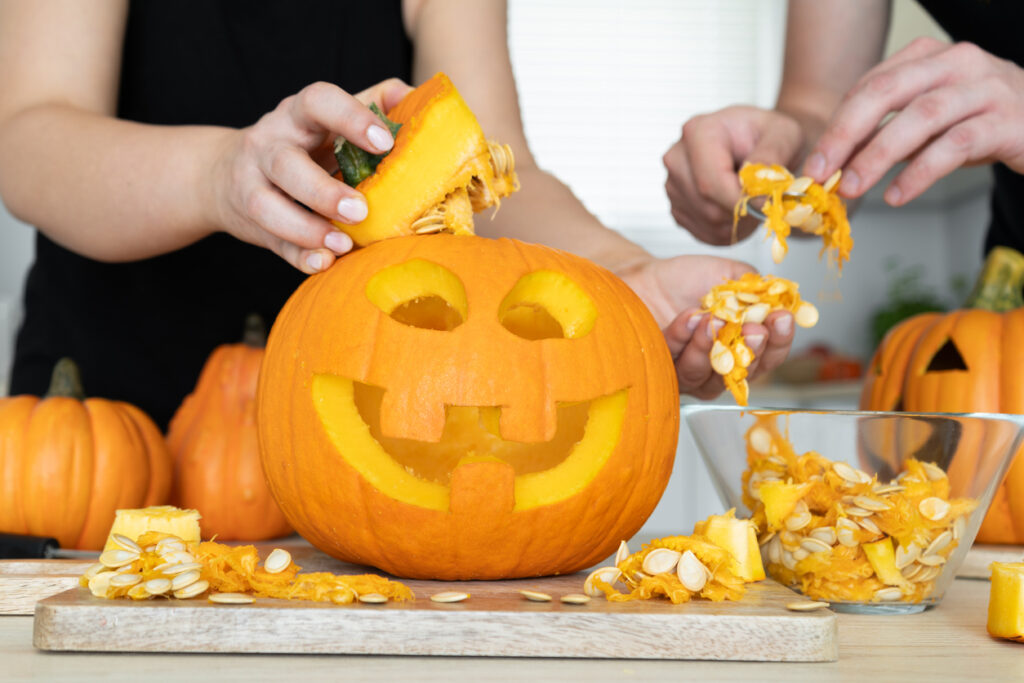
Not all pumpkins are created equal for carving. You want one that’s relatively smooth without loads of bumps, with a flat bottom so it sits steady, and a stem that’s still green and attached which means it’s fresh.
Avoid pumpkins with soft spots or those that sound hollow when you tap them. A good carving pumpkin should feel heavy for its size and have a consistent colour without blemishes or scratches that’ll make carving harder.
Cut the hole in the bottom, not the top.

Everyone cuts the lid off the top, but cutting a hole in the bottom is way better. This lets you place the pumpkin over a candle or light rather than trying to reach down inside with a flame, which is awkward and burns your hand.
It also means the top stays intact so heat and smoke escape around the carved design instead of straight up through a hole. Plus the stem stays on which looks better, and you’re not trying to balance a wonky lid back on top.
Scrape the inside way thinner than you think.
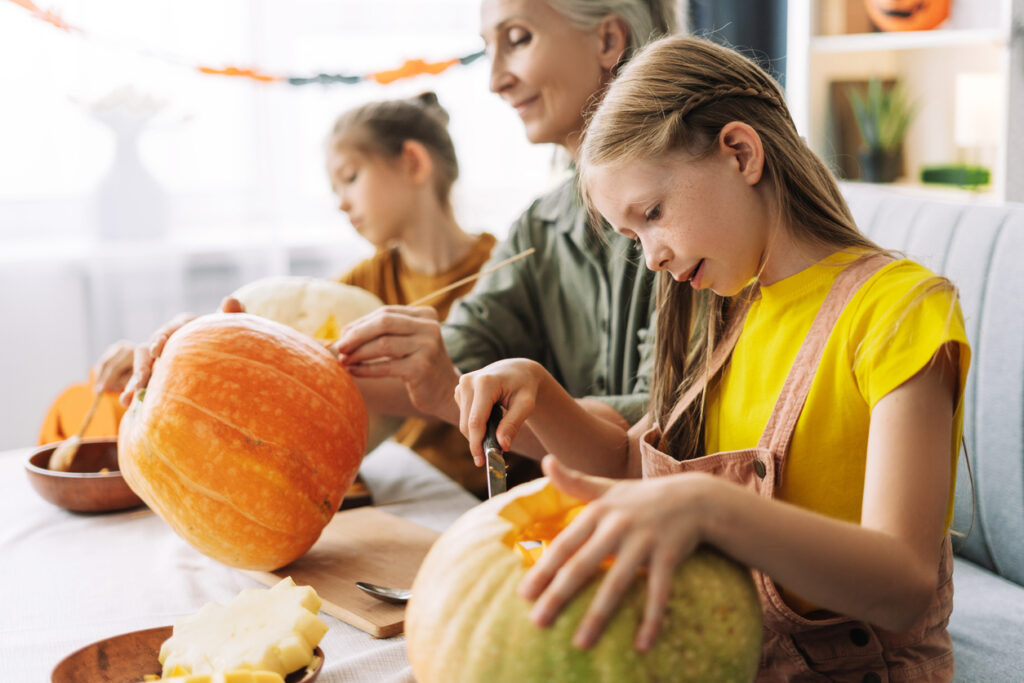
Most people scoop out the seeds and strings then stop, but you need to scrape the inside walls down to about 2 cm thick. Thinner walls let more light through and make carving so much easier because you’re not hacking through thick flesh.
Use a large metal spoon or an ice cream scoop to really get in there and scrape. The inside doesn’t need to look pretty, you just need to thin it out enough that carving feels like cutting butter rather than wrestling with vegetable matter.
Transfer your design with a pin poke method.
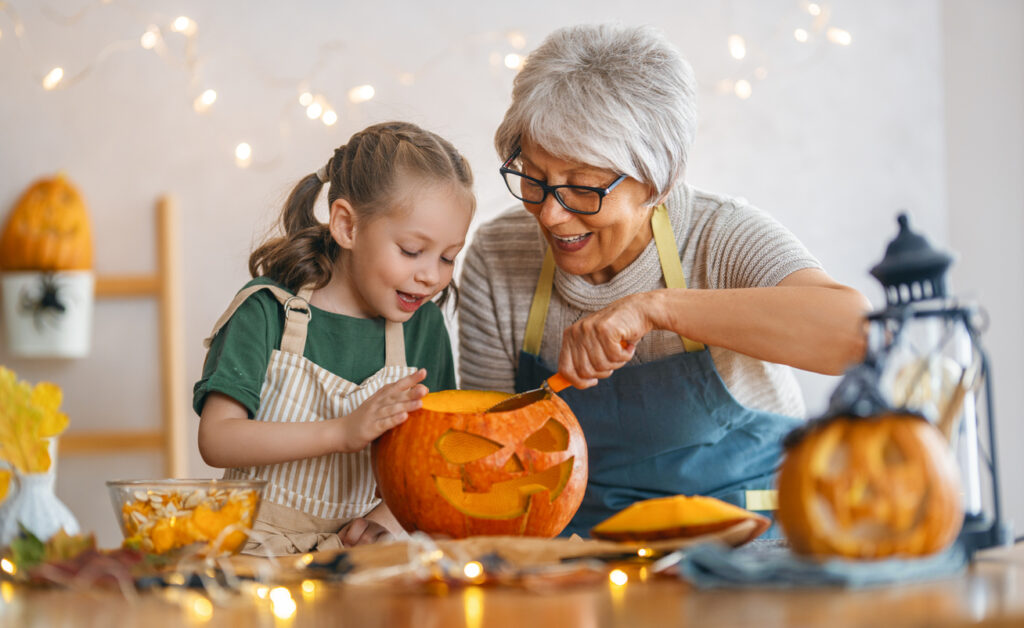
Trying to freehand a design directly onto the pumpkin usually ends badly. Instead, tape your printed design onto the pumpkin and use a pin or nail to poke holes along all the lines, creating a dotted outline.
When you remove the paper, you’ve got a perfect guide to follow with your knife. The holes are subtle enough that if you make mistakes you can adjust, but clear enough that you’re not guessing where to cut.
Use proper carving tools, not kitchen knives.

Kitchen knives are too long, too sharp, and completely the wrong shape for pumpkin carving. Get a proper pumpkin carving kit with small serrated saws that give you way more control and are actually safer because they’re designed for the job.
These tools let you make tighter turns and more detailed cuts without the blade getting stuck or skipping. You’ll spend less time fighting with the pumpkin and more time actually creating the design you wanted.
Cut away from yourself always.
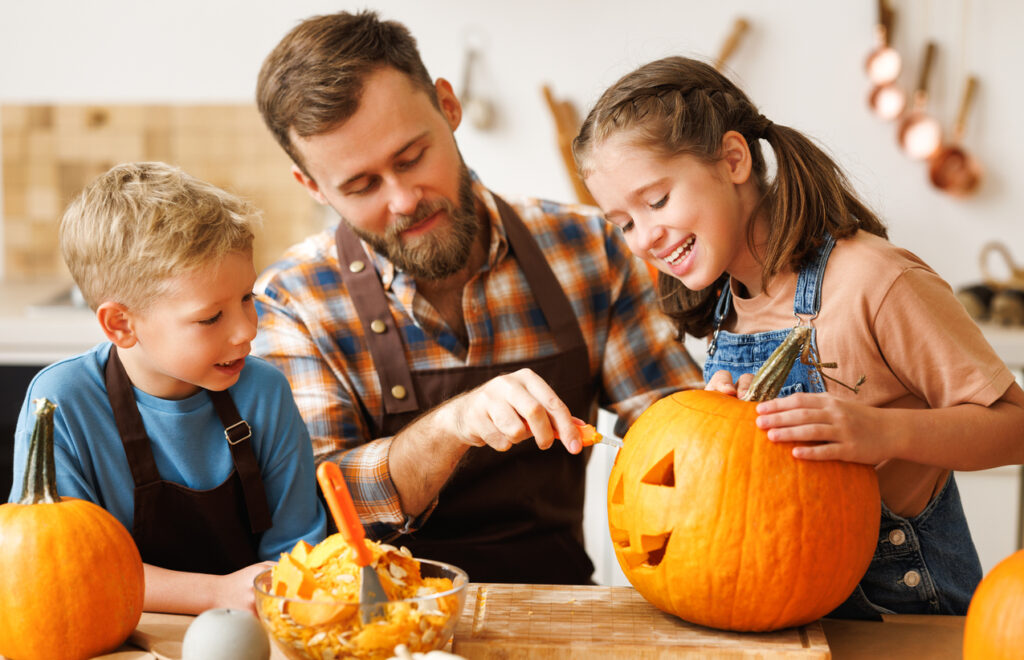
This seems obvious, but people forget when they’re concentrating on getting a curve right. Always push the blade away from your body and keep your other hand behind the blade, not in front holding the pumpkin where you’re cutting.
Pumpkin flesh is unpredictable and knives can slip suddenly. Every year, people end up in A&E because they were holding the pumpkin while sawing towards their palm, which is just asking for trouble when you’re dealing with a slippery vegetable and a sharp blade.
Start with simple designs first.
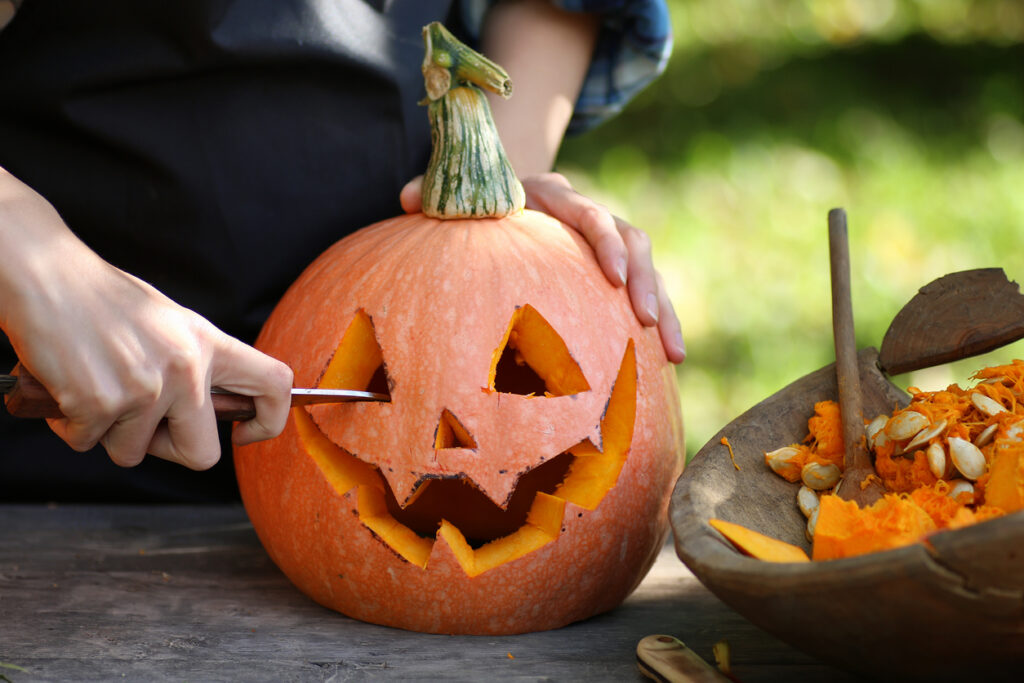
Those elaborate Pinterest pumpkins with detailed faces and intricate patterns look amazing, but they’re not beginner territory. Start with basic shapes like triangles for eyes and a toothy grin before attempting anything complex that requires precision cutting.
Simple designs still look brilliant when lit up, and you’ll actually finish them successfully instead of getting frustrated halfway through an ambitious project. You can always add more detail next year once you’ve got the basics down properly.
Push cut pieces out from inside, not outside.
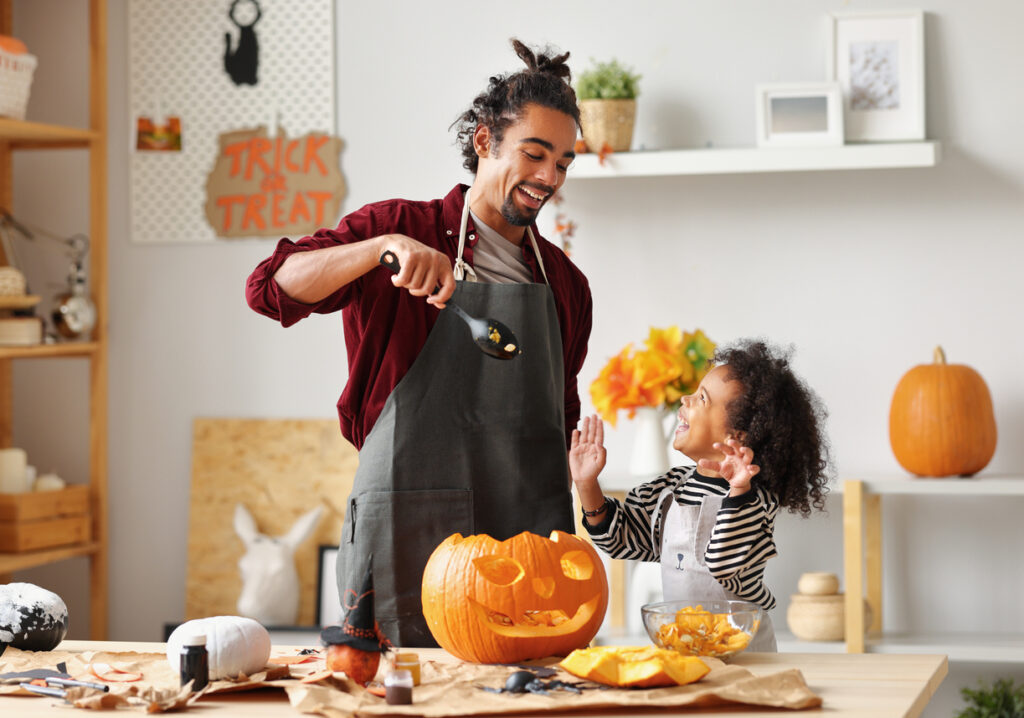
When you’ve finished cutting a section, don’t try to pull it out from the front. Push it from the inside instead, which prevents the edges from tearing or the piece getting stuck and breaking into bits.
If something’s not coming out cleanly, you haven’t cut all the way through. Go back and check your cuts rather than forcing it because forcing always makes a mess and ruins the clean edges you worked hard to create.
Preserve it with petroleum jelly or vinegar.
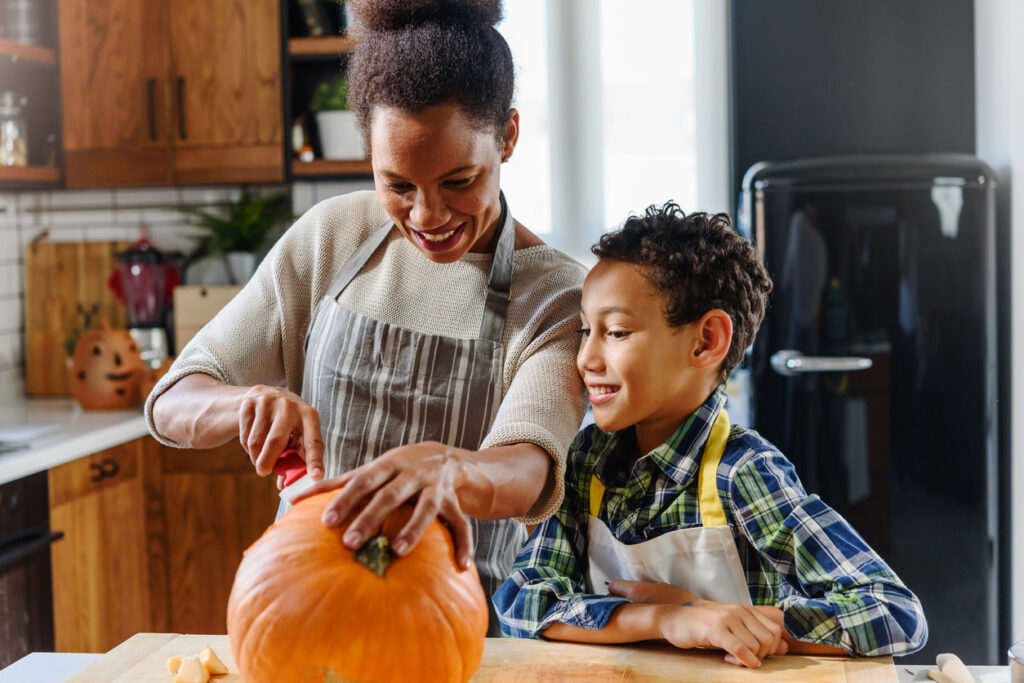
Once carved, pumpkins start rotting fast. Coat all the cut edges with petroleum jelly to seal in moisture and slow down decay, or spray everything with a vinegar and water mix, which kills bacteria that cause rot.
Keep your pumpkin in a cool place when you’re not displaying it, and bring it inside if there’s frost forecast. A well-preserved pumpkin can last a couple of weeks, while an untreated one starts looking grim within days.
Use LED lights instead of candles.

Real candles look atmospheric, but they cook your pumpkin from the inside, speeding up rot and creating a fire hazard. LED tea lights or battery fairy lights give you the glow without the heat, smoke, or risk of setting something alight.
Battery lights also mean you can leave your pumpkin out all evening without worrying about the candle going out or catching something on fire. They’re safer, longer lasting, and your pumpkin won’t smell like burnt pumpkin flesh by the end of Halloween night.