Harvesting onions isn’t just a matter of yanking them out of the ground when they look big enough. The timing, technique, and post-harvest steps can make a big difference in how long they store and how good they taste. Whether you’re growing red, white, or yellow onions, here’s a full breakdown of how to tell when they’re ready, how to harvest them properly, and what to do next to make the most of your crop.
1. Look for the tops to flop over.
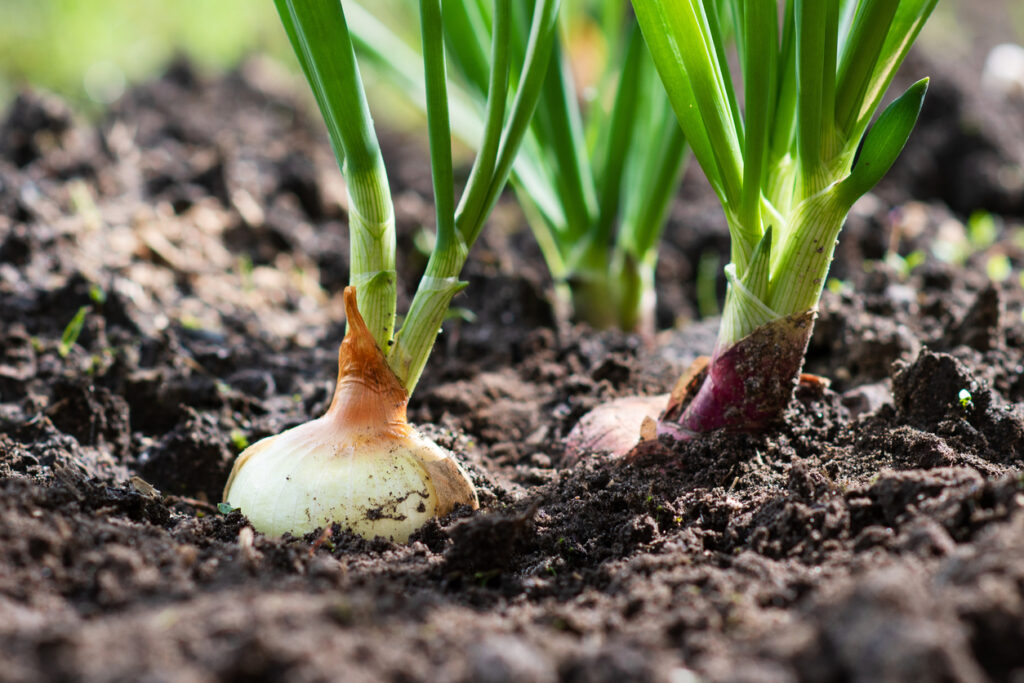
The clearest sign your onions are ready to harvest is when the green tops start to fall over and turn yellow or brown. This usually happens in late summer, depending on when you planted them and your local climate. Once the majority of your onion tops have flopped, the plant has stopped sending energy to the bulb. That’s your cue that the growing phase is done, and the drying process should begin.
2. Check the necks for softness.
Gently pinch the neck of the onion, where the leaves meet the bulb. If it feels soft and papery instead of firm and green, it’s another sign the onion is ready to come up. A soft neck means the onion has stopped growing and is naturally drying out, which is a crucial step for long-term storage. If the neck is still thick and juicy, give it a bit more time.
3. Stop watering a week or two before harvesting.
To help onions cure and store well, stop watering them once most of the tops have fallen. This helps the bulbs dry out and toughen up their skins, which protects them from rot. Dry soil also makes harvesting easier and cleaner. You won’t have to deal with mud sticking to your crop, and it reduces the risk of damaging the outer layers.
4. Harvest on a dry day.
Pick a sunny, dry day for lifting your onions. Wet conditions can increase the chance of mould and make it harder for the onions to dry properly. If rain is coming and your onions are ready, it’s better to pull them a little early and cure them undercover than to leave them out in soggy soil.
5. Loosen the soil before pulling.
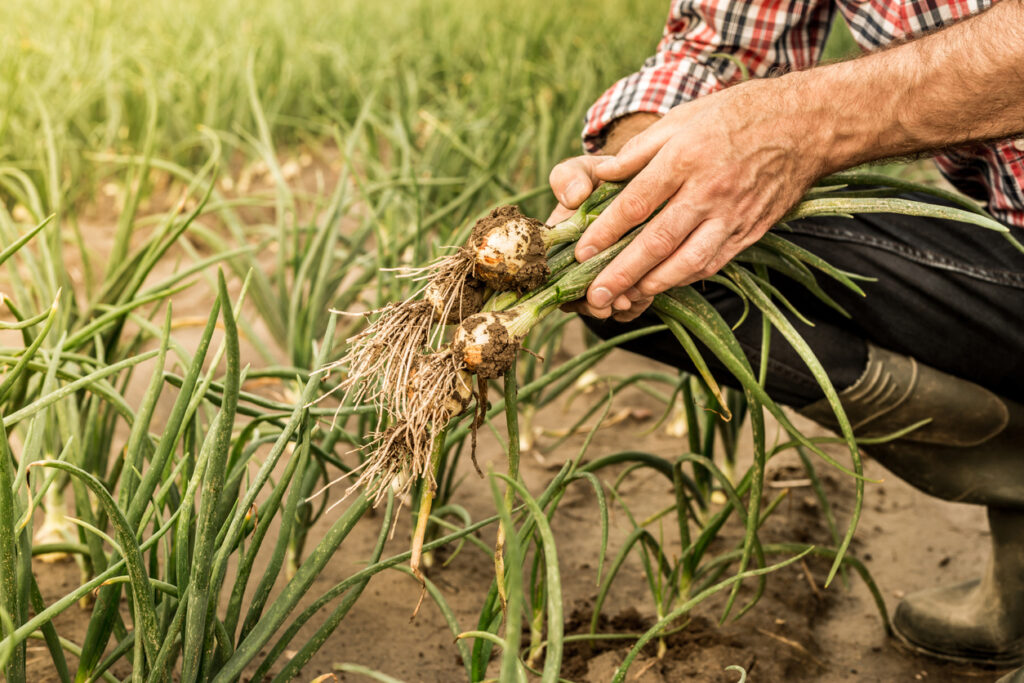
Use a fork or hand tool to gently loosen the soil around your onions before lifting them. Pulling them straight out of compact soil can damage the bulb or neck, which reduces shelf life. Be careful not to stab the bulb while digging, as any nicks or bruises make them more likely to rot in storage.
6. Let them cure in the sun for a few days.
Once harvested, leave your onions on top of the soil to cure for a couple of days, tops and all, if the weather’s dry. This helps set the skins and kickstarts the drying process. Turn them occasionally to avoid damp spots. If rain is due, bring them indoors or into a well-ventilated shed or greenhouse to finish curing.
7. Finish curing in a warm, dry place.
Move onions under cover to cure for 2–3 weeks. Lay them out in a single layer, not touching, with good airflow. Ideal conditions are warm (around 20 °C) and dry, with indirect light. You’ll know they’re fully cured when the outer skins are papery, the necks are tight and dry, and the roots look shrivelled. Any onions that still have wet necks should be eaten first.
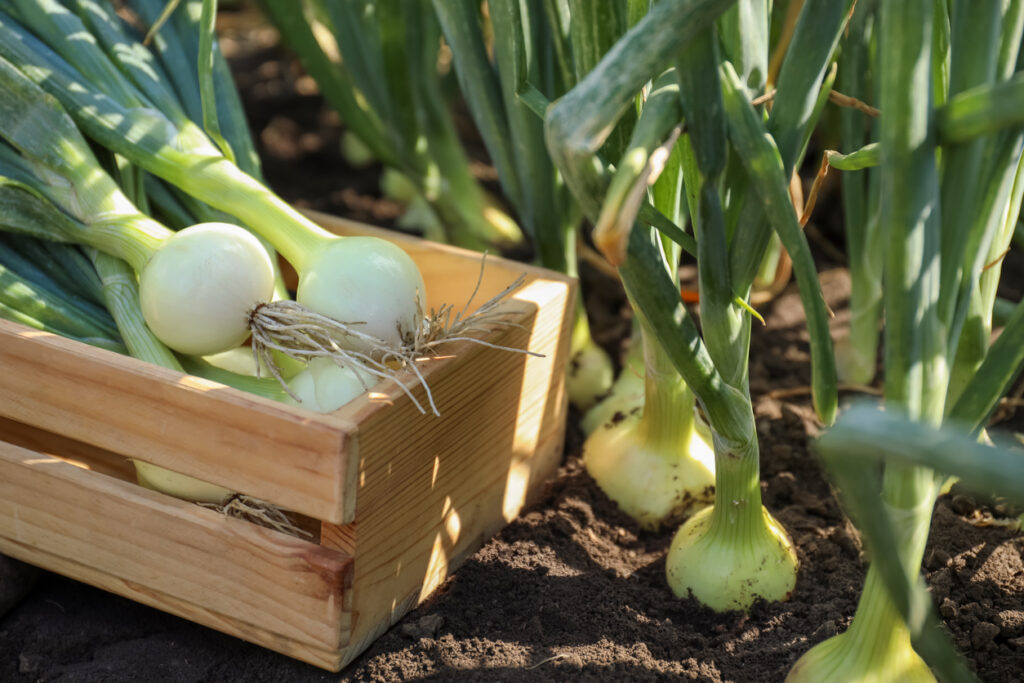
8. Trim and store properly.
Once fully cured, trim off the roots and cut the tops to about an inch above the bulb, or leave them long if you’re planning to braid them. Brush off any loose dirt but don’t wash them. Store onions in a cool, dry, and dark place with good ventilation. Avoid plastic bags; mesh sacks, crates, or paper bags work better. Check them regularly and use any soft or sprouting ones first.
9. Keep an eye on different varieties.
Not all onions store equally well. Red onions tend to have a shorter shelf life than yellow ones, while sweet onions generally need to be eaten sooner than stronger, more pungent types. Label your harvest so you know which varieties to use up first, and keep them separated if possible to avoid one bad onion ruining the bunch.
10. Don’t forget the imperfect ones.
Any onions that split, cracked, or got damaged during harvest won’t store for long, but they’re still good to use fresh. Keep them in the fridge and aim to use them within a week or two. You can also chop and freeze them for cooking later. Just skip the curing step. Prep them how you like and stash them in airtight bags or containers in the freezer.