
Growing potatoes is actually much easier than most people think. You don’t need a massive garden or special equipment, just some basic knowledge about timing, soil preparation, and simple care techniques that work for complete beginners.
Choose the right potato varieties for your situation.
Not all potatoes are created equal, and picking the wrong type can lead to disappointment when your harvest doesn’t match your expectations. Some varieties grow better in containers, but others need more space, and timing varies significantly between different types.
Start with reliable beginner varieties like Charlotte, Rocket, or King Edward that are forgiving and well-suited to British growing conditions. Early varieties are ready in about 10 to 12 weeks, while maincrop potatoes take 18 to 22 weeks but give you larger harvests for winter storage.
Get proper seed potatoes rather than shop-bought ones.
Regular eating potatoes from the supermarket often won’t grow properly because they’re treated to prevent sprouting, and they might carry diseases that could ruin your crop. This is one of the most common mistakes that frustrates new potato growers.
Buy certified seed potatoes from garden centres or online suppliers between January and March. These are specially grown for planting, disease-free, and will give you much better results than trying to plant potatoes from your kitchen cupboard.
Chit your seed potatoes before planting.
Chitting sounds complicated, but it’s just encouraging your seed potatoes to sprout small shoots before you plant them. Many beginners skip this step and wonder why their potatoes take ages to emerge or grow poorly.
Place your seed potatoes in egg boxes or seed trays with the end that has the most eyes facing upward. Keep them in a cool, bright place like a spare room windowsill for 4 to 6 weeks until you see sturdy green shoots about 2 cm long.
Prepare your soil properly for healthy growth.
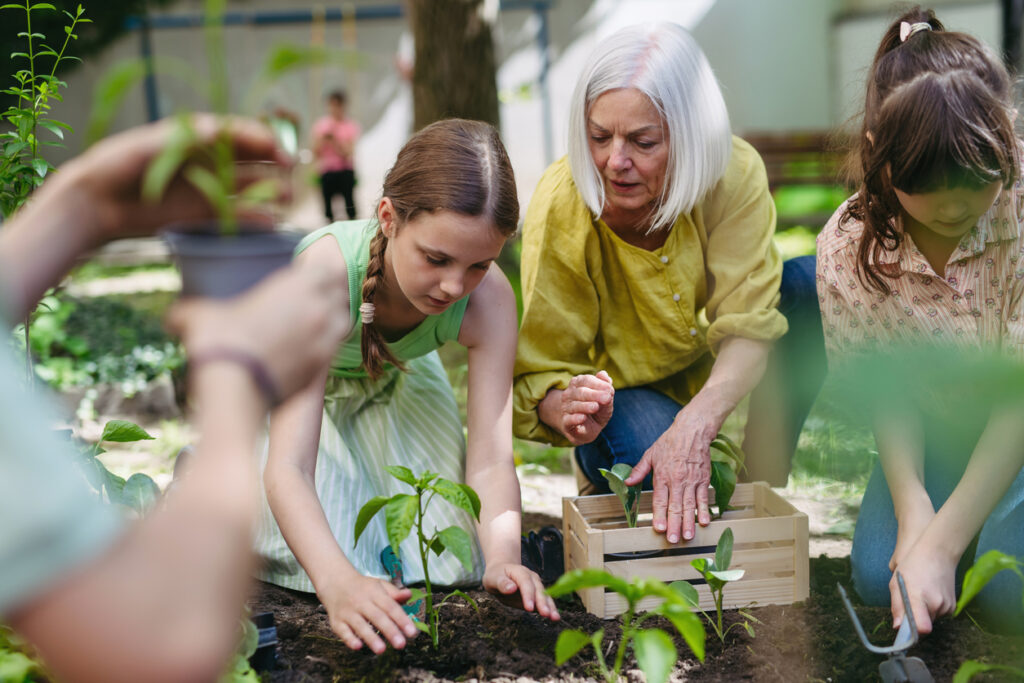
Potatoes need loose, well-draining soil to develop properly, and they’re quite hungry plants that benefit from rich, fertile conditions. Poor soil preparation is why many people get small, disappointing harvests even when everything else goes right.
Dig your planting area about 30 cm deep and mix in plenty of compost or well-rotted manure if you have it. The soil should feel crumbly rather than heavy clay or sandy, and water should drain away rather than sitting on the surface after rain.
Plant at the right time and depth.
Timing is crucial because potatoes are sensitive to frost, and planting too early or too late can significantly affect your harvest. Many beginners either jump the gun and lose plants to late frosts, or wait too long and miss the optimal growing season.
Plant early varieties in March when the soil starts warming up, and maincrop varieties in April. Dig trenches about 12 cm deep and 60 cm apart, place potatoes 30 cm apart with shoots pointing upward, then cover with 10 cm of soil.
Earth up your potato plants as they grow.
Earthing up means gradually covering the stems with more soil as your potato plants grow taller. Beginners often don’t realise this is necessary, leading to green potatoes that are inedible and reduced harvests.
When shoots reach about 15 cm tall, draw soil up around them, leaving just the top leaves visible. Repeat this process every few weeks until you have ridges about 20 cm high. This protects developing potatoes from light and creates more space for tubers to form.
Water consistently but don’t overdo it.
Potatoes need steady moisture, but they’ll rot if the soil stays waterlogged, and irregular watering can cause problems like cracked or hollow potatoes. Getting the watering balance right confuses many new gardeners.
Water deeply once or twice a week rather than little and often, aiming to keep the soil moist but not soggy. Increase watering once flowers appear because that’s when tubers are forming rapidly and need consistent moisture for proper development.
Watch for common pest and disease problems.
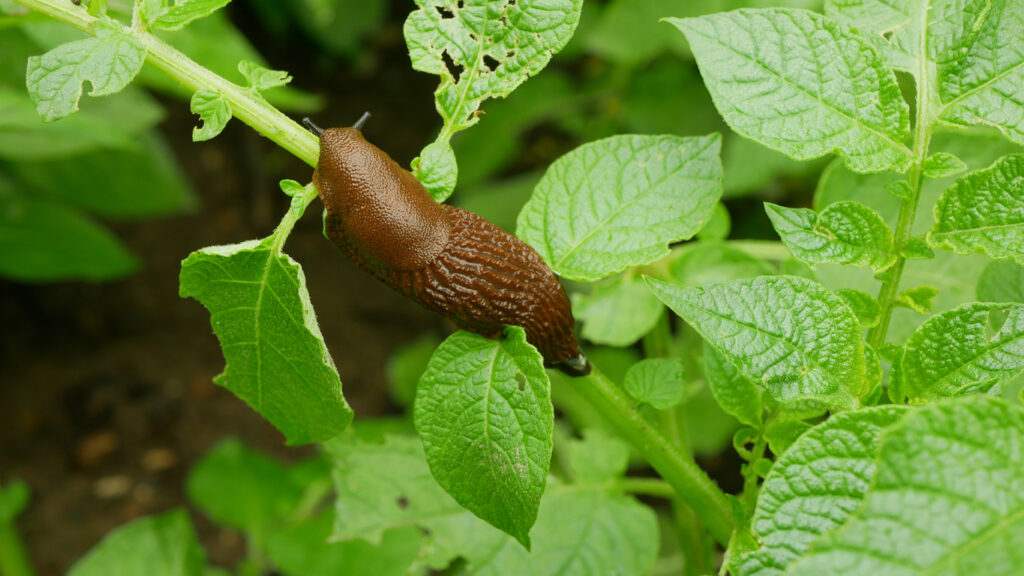
Slugs, and potato blight are the main threats that can destroy your crop if you don’t spot them early. Many beginners don’t know what to look for and lose entire harvests to preventable problems.
Check plants weekly for holes in leaves, slimy slug trails, or brown patches that could indicate blight. Remove any affected foliage immediately and consider organic treatments like copper fungicide for blight or beer traps for slugs before problems get out of hand.
Know when your potatoes are ready to harvest.
Harvesting too early gives you tiny potatoes, but waiting too long can result in damaged or rotting tubers. The timing signs aren’t always obvious to beginners, who often guess wrongly about when to dig.
Early varieties are ready when flowers appear, usually 10 to 12 weeks after planting. Maincrop potatoes are ready when the foliage starts dying back naturally, typically in late summer or early autumn. Test by carefully digging around one plant to check tuber size.
Harvest and store your potatoes correctly.
Improper harvesting and storage can ruin months of careful growing, turning perfect potatoes into green, sprouting, or rotting disappointments. The way you dig and handle your harvest makes a huge difference to quality and storage life.
Choose a dry day and use a fork to carefully lift plants, starting well away from the stem to avoid stabbing potatoes. Brush off soil but don’t wash them, let them dry on the surface for a few hours, then store in paper sacks or wooden boxes in a cool, dark place.
Try container growing if you have limited space.
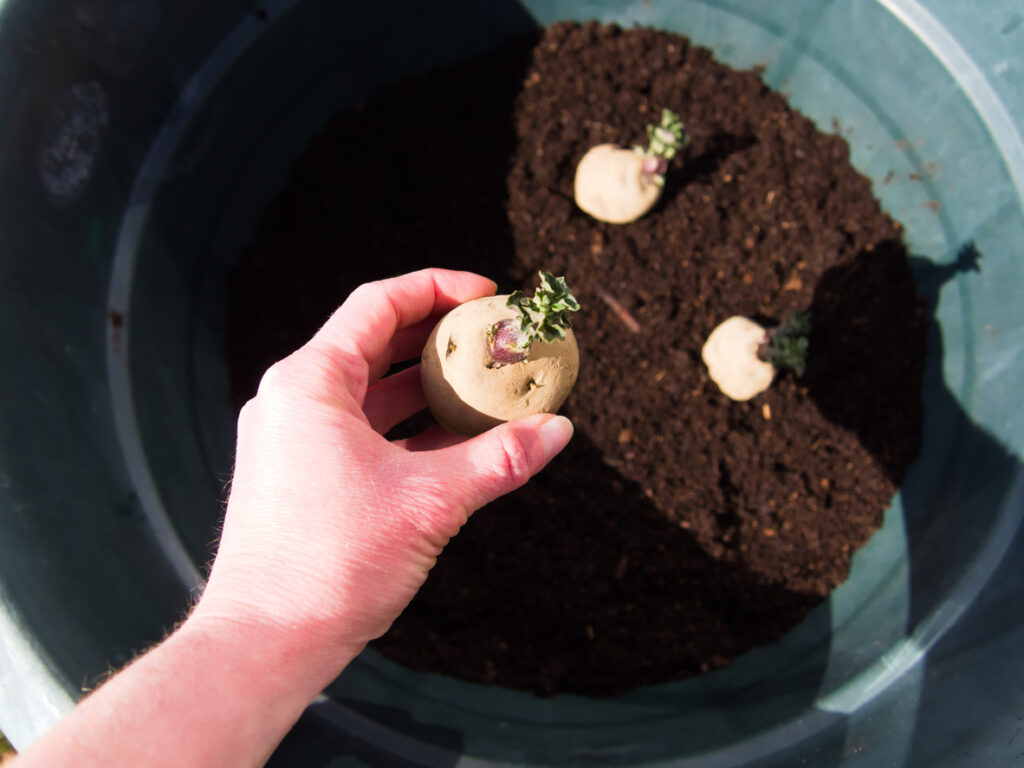
You don’t need a proper garden to grow potatoes successfully, and container growing can actually be easier for beginners because you have more control over soil conditions and can move plants if needed.
Use large containers at least 40 cm deep and wide, with drainage holes in the bottom. Fill with multipurpose compost mixed with some garden soil, plant 2-3 seed potatoes per container, and follow the same earthing up process by adding more compost as plants grow.
Plan your next season while learning from your mistakes.
Every growing season teaches you something new about your local conditions, soil, and what varieties work best in your situation. Many beginners get discouraged by problems instead of treating them as learning opportunities for next year.
Keep notes about what varieties you grew, when you planted them, what problems you encountered, and how your harvest turned out. This information becomes invaluable for planning future crops and avoiding the same mistakes while building on what worked well.