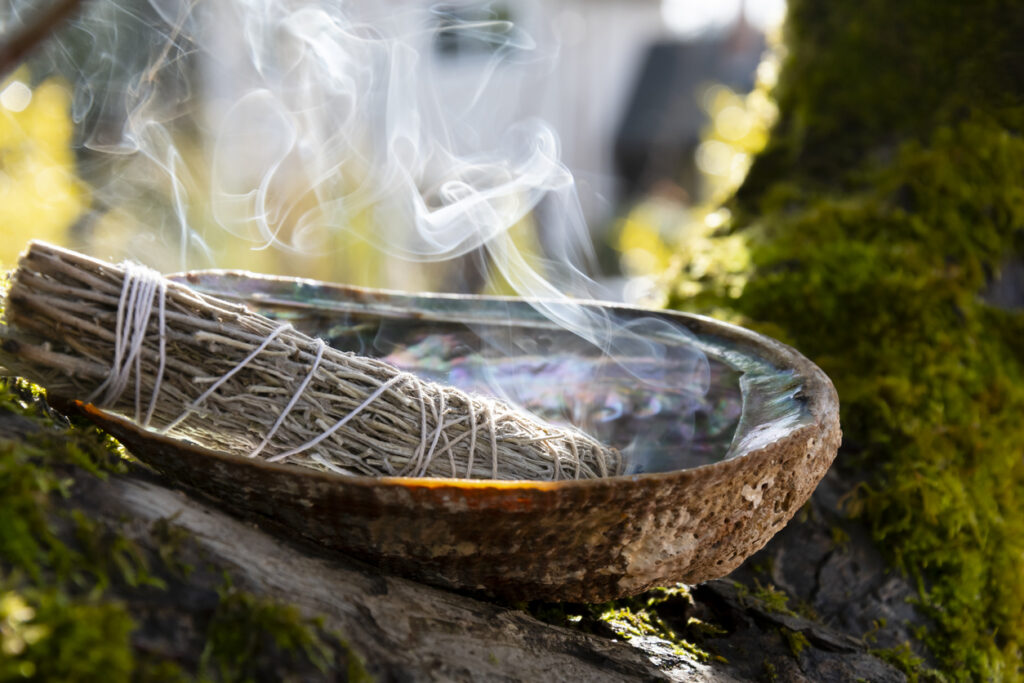
Making your own smudge sticks is a simple way to use the plants you already grow, whether you enjoy the scent, the ritual of lighting them or the sense of calm that comes from a slow, steady burn. You don’t need rare herbs or fancy tools. Most gardens already have plenty of plants that tie, dry and burn beautifully.
The process feels grounding once you get the hang of it. You gather what’s available, shape it with your hands, and end up with something natural that suits your own preferences. It’s a small project that blends practicality with a bit of creativity. Here’s how to make your own smudge sticks from garden plants.
Choose plants with aromatic properties that dry well.
The best plants for smudge sticks are herbs that smell good and hold together when dried. Lavender, rosemary, sage, and thyme all work brilliantly. Mint is another good option. You want plants with sturdy stems and leaves that won’t crumble completely when dry. Avoid anything toxic or that you’re allergic to.
Garden herbs work better than most decorative plants because they’re naturally aromatic. The oils in these plants release fragrance when burned. You can also mix different herbs together for custom scents. Just make sure everything you pick is safe to burn. Some plants produce harmful smoke, so stick to common culinary herbs if you’re not sure.
Harvest your herbs on a dry morning.
Pick your herbs after the morning dew has dried, but before the heat of the day. This is when the plant oils are most concentrated. Use clean scissors or secateurs to cut stems about 15 to 20 centimetres long. Take cuttings from healthy plants, avoiding any diseased or damaged bits. Don’t strip the whole plant, just take what you need.
Harvesting at the right time affects how fragrant your smudge stick will be. Wet plants will take forever to dry and might go mouldy. Waiting until afternoon means the sun has already evaporated some of the oils. Morning harvesting gives you the strongest scent. Handle the stems gently so you don’t bruise the leaves before you’ve even started.
Remove lower leaves and create a small bundle.
Strip the leaves off the bottom few centimetres of each stem. This creates a handle you can hold while burning the smudge stick. Gather about 8 to 12 stems together, depending on how thick they are. Arrange them, so the top ends are roughly even. The bundle should be about as thick as your thumb.
The bare stems at the bottom make it easier to wrap with string and safer to hold when lit. Don’t make the bundle too thick, or the centre won’t dry properly and might go mouldy. Too thin, and it’ll burn up too quickly or fall apart. Getting the size right takes a bit of practice, but thumb-thickness is a good starting point.
Tie the bundle tightly with natural string.
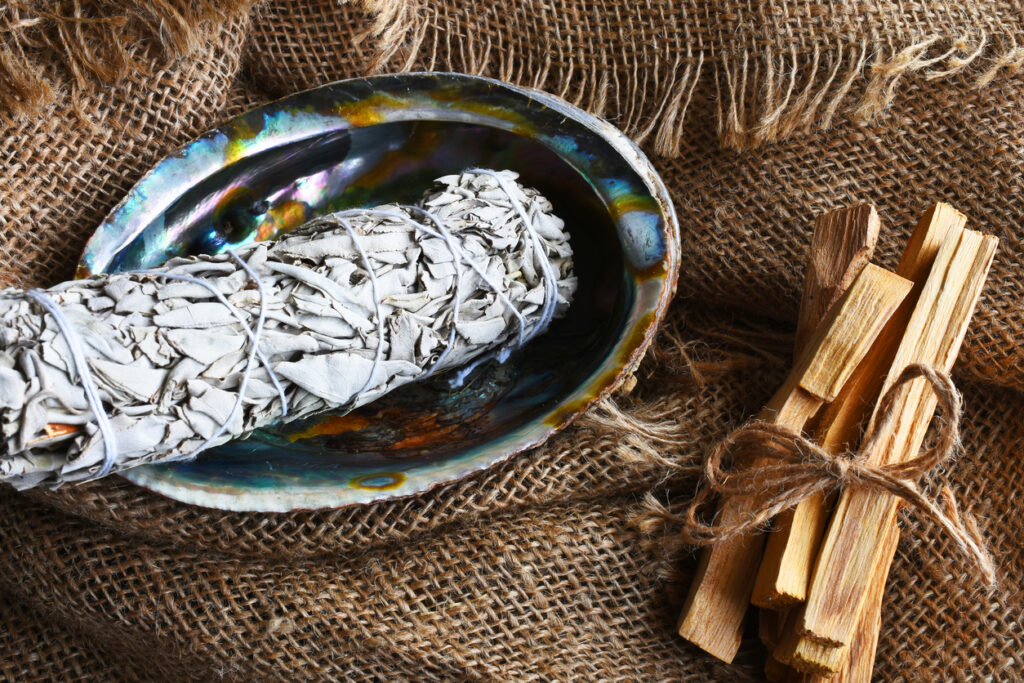
Use cotton string or twine, never synthetic materials that will melt or release fumes when burned. Start at the base near the bare stems and wrap the string around several times to secure it. Then spiral the string up the bundle, wrapping firmly every centimetre or so. When you reach the top, spiral back down to the base.
The wrapping needs to be tight because the herbs will shrink as they dry. Loose wrapping means your smudge stick will fall apart later. Natural fibres are essential because you’ll eventually burn this string. Cotton string burns cleanly without toxic smoke. Keep the tension consistent as you wrap, so the whole bundle is held firmly together.
Create a criss-cross pattern for extra security.
Once you’ve spiralled up and down, wrap the string in the opposite direction to create a criss-cross or diamond pattern. This locks everything in place. Tie off the end securely at the base where you started. You can leave a loop if you want to hang the smudge stick while it dries. Trim any excess string.
The criss-cross pattern prevents the herbs from shifting as they dry and shrink. It looks more professional too. Make sure the knot is tight and won’t come undone. Some people add decorative elements like feathers or crystals at this stage, but it’s optional. The main goal is keeping the bundle intact through drying and burning.
Hang the bundles upside down to dry completely.
Find a warm, dry spot with good airflow. Hang your smudge sticks upside down, either from the string loop or by tying them to a rack. Keep them out of direct sunlight, which can fade the colour and reduce the oils. A dark cupboard, shed, or airing cupboard works well. They need to dry for at least two weeks, sometimes longer.
Proper drying prevents mould and ensures they burn properly. If you try to burn them while still damp, they’ll just smoulder and smoke badly. The herbs should feel crispy and brittle when fully dry. Thick bundles take longer than thin ones. Check them after two weeks by trying to bend a stem. If it snaps cleanly, they’re ready.
Test that they’re completely dry before storing.
Pick up a dried smudge stick and give it a gentle squeeze. It should feel firm and the leaves should rustle. Bend one of the stems. If it bends without breaking, it needs more drying time. If it snaps crisply, you’re good to go. There shouldn’t be any moisture or flexibility left in the plant material.
Using under-dried smudge sticks is frustrating because they won’t stay lit properly. They also might develop mould during storage, which ruins them completely. Taking time to ensure they’re bone dry is worth it. In humid climates, drying can take three weeks or more. Be patient rather than rushing and wasting all your effort.
Store them in a dry place away from moisture.
Keep your finished smudge sticks in a box or basket in a dry cupboard. Don’t seal them in plastic bags, which can trap any remaining moisture. A paper bag or cardboard box works well. Keep them away from damp areas like under the sink. Properly dried smudge sticks can last for years if stored correctly.
Moisture is the enemy of stored smudge sticks. Even fully dried herbs can absorb moisture from humid air and go mouldy. Good storage maintains the fragrance and burning quality. Some people wrap them individually in paper or fabric for extra protection. Check on them occasionally, especially in damp weather, to make sure they’re staying dry.
Light them safely and use a fireproof bowl.

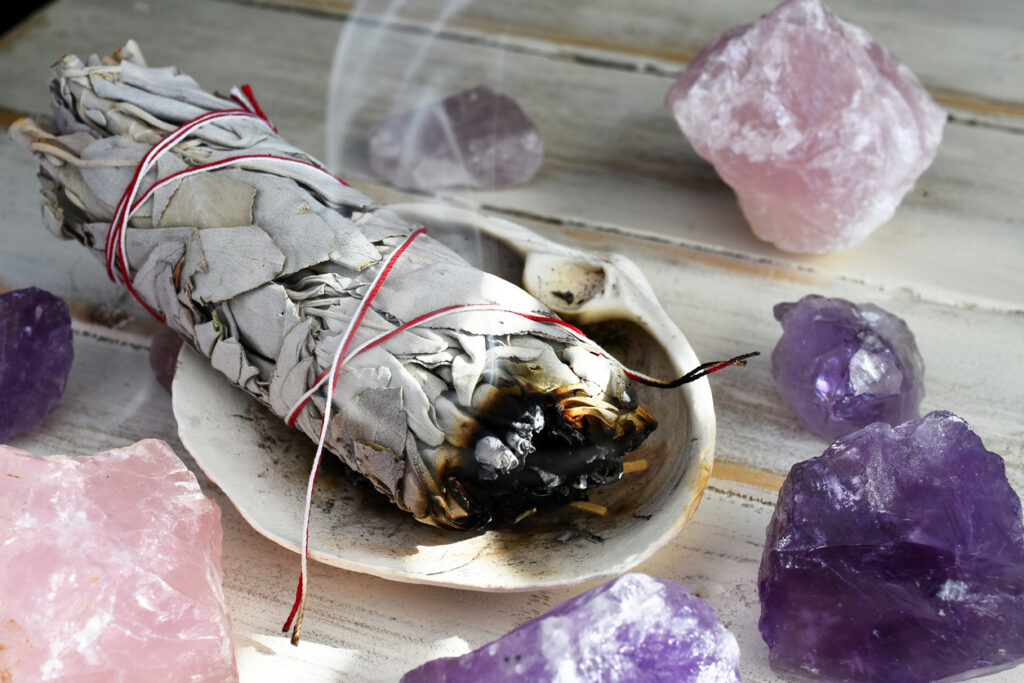
When you’re ready to use a smudge stick, light the leafy end with a match or lighter. Let it burn for a few seconds, then blow out the flame. It should smoulder and release fragrant smoke. Hold it over a fireproof bowl or abalone shell to catch any falling embers. Never leave it burning unattended.
The bowl catches hot ash that drops off as the smudge stick burns. This prevents burns on furniture or flooring. You can also use the bowl to extinguish the smudge stick by pressing the burning end into sand or soil. Always make sure it’s completely out before putting it away. Treat it like any other fire hazard with appropriate caution.
Extinguish properly by pressing into sand.
When you’re finished, don’t just leave the smudge stick to go out on its own. Press the burning end firmly into sand, soil, or ash in your fireproof bowl. Make sure all the embers are completely out. You can also run it under water, but this damages the stick, and you’ll need to re-dry it before using again.
Proper extinguishing prevents accidental fires. Even if it looks out, small embers can reignite. Pressing into sand or soil smothers any remaining heat thoroughly. Once it’s definitely out, you can store it and use it again multiple times. Each smudge stick usually lasts for several burning sessions before it’s used up completely.